
Serving Greater Pittsburgh & Northern Panhandle, Washington, Weirton, Pittsburgh, and surrounding cities
Insulation Services Before & After Photos
Click on a photo to enlarge.
Making upstairs rooms more comfortable in Wheeling, WV 26003
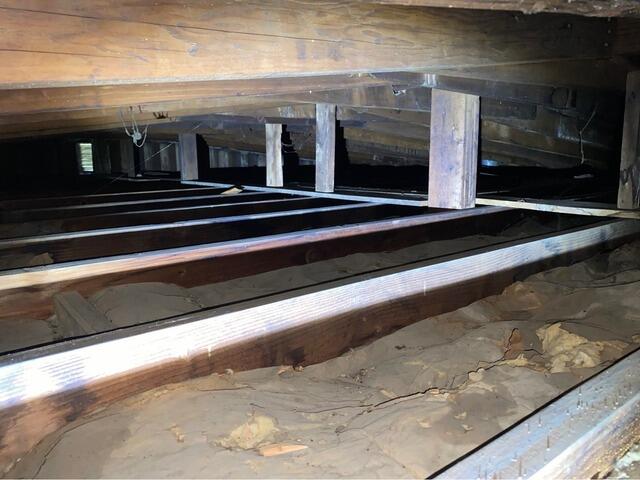
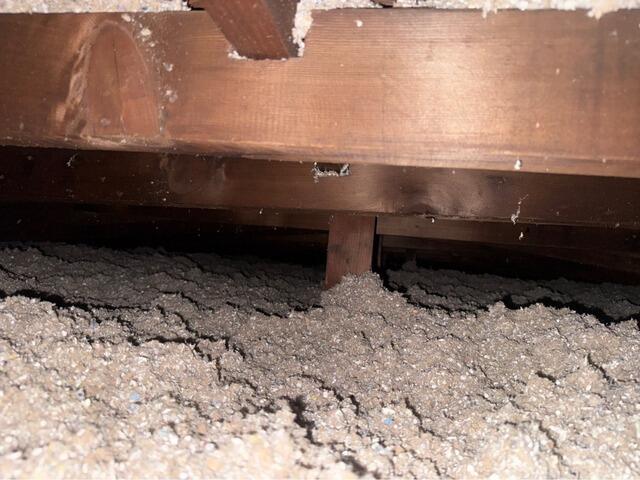
Sean reached out because his two-story home had high energy bills and an upstairs that never seemed to stay comfortable. The cathedral ceilings made the problem more noticeable, with rooms that were too hot in the summer and too cold in the winter.
After evaluating the home, our team focused on strengthening the thermal boundary in the cathedral ceiling areas. We dense-pack insulated the cathedral ceilings to eliminate voids and improve performance. We also cut in a new attic access opening to improve usability, then sealed and insulated the attic access to prevent air leakage. Additional air sealing was completed around top plates and the chimney area to stop conditioned air from escaping.
With these improvements complete, Sean’s home now maintains more consistent temperatures upstairs, energy bills are reduced, and the cathedral ceiling areas perform the way they should.
Attic access and insulation upgrade in Wheeling, WV 26003
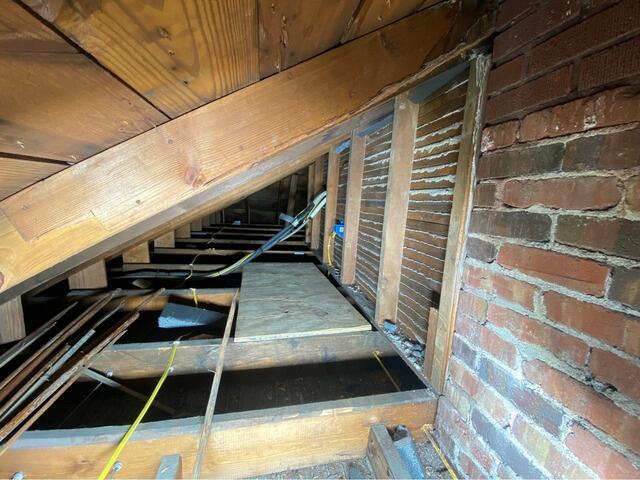
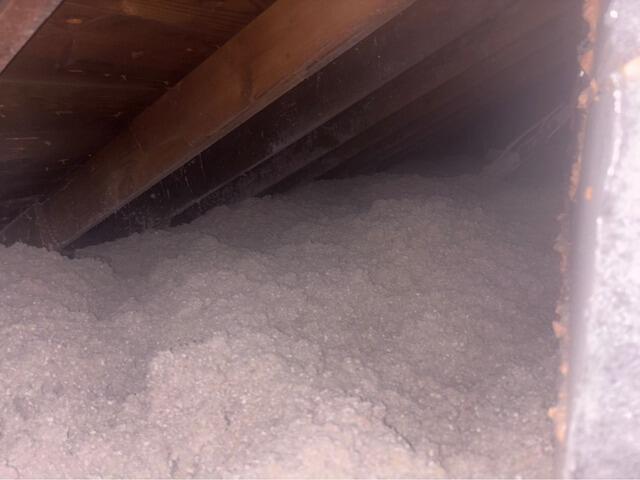
Ryan reached out because his two-story home had high energy bills and limited attic accessibility. The existing attic setup made it difficult to properly access key areas, and there was opportunity to improve insulation performance at the same time.
Our team cut in three new attic access points to safely reach all necessary areas of the attic space. Each access point was properly sealed and insulated to prevent future air leakage. We also improved attic usability and insulated knee wall areas to strengthen the home’s thermal boundary.
With the new access points in place and the attic properly sealed and insulated, the home now operates more efficiently. Energy loss has been reduced, attic areas are accessible for maintenance and storage, and the overall system performs better year-round.
Eliminating air loss and improving attic performance in Brilliant, OH 43913
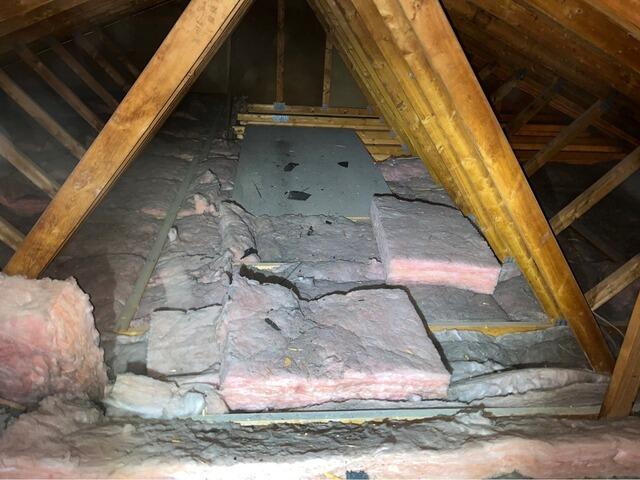
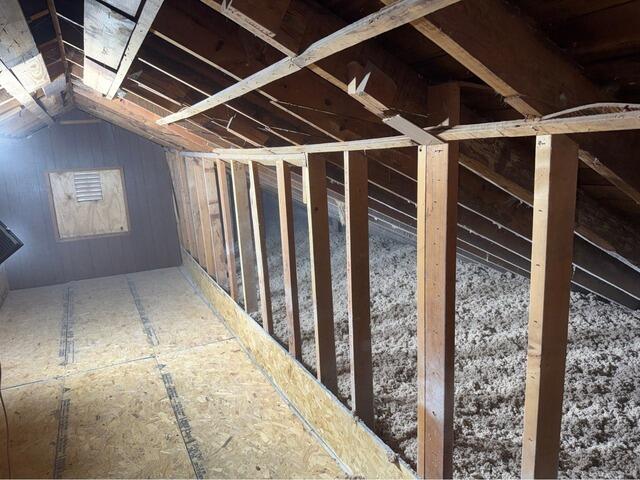
Kevin reached out because his home felt drafty and his energy bills were higher than expected. Even without major temperature swings, the home just wasn’t holding comfort the way it should.
After evaluating the attic, we found that air leakage and insulation issues were allowing conditioned air to escape. When that happens, even a well-functioning heating system must work harder to keep up.
Our team focused on tightening the attic system from the top down. We sealed attic air leaks, sealed penetrations and top plates, and upgraded insulation levels to improve overall performance.
A key part of this project was improving attic access. The existing access made it difficult to properly reach and treat all areas, and it also allowed air to leak through. By improving and sealing the attic access, we eliminated a major source of energy loss and made the attic fully accessible for proper insulation coverage.
By combining air sealing, insulation upgrades, and improved attic accessibility, we were able to restore how the attic functions as a system. Now the home feels less drafty, holds temperature more consistently, and runs much more efficiently.
Wellsburg WV Attic Insulation


Owners Josh and Sydney called us to improve the comfort and efficiency of their 130 year old home.
Upon inspection many deficiencies were discovered including very inadequate insulation, large air gaps and over 100 years of dirt and pest droppings.
Foreman Mike Y. and his team first removed all of the insulation, dirt and debris out of the attic. Next they air sealed the attic and properly insulated with cellulose insulation to R60 to give the optimum results.
Wellsburg, WV Cape Cod Knee Walls Insulated


A Cape Cod home is a story-and-a-half design. Most Capes have second-floor bedrooms featuring 4-foot kneewalls and two sections of sloped ceiling. The sloped ceiling sections usually rise to meet a narrow horizontal ceiling in the center of the house. Most Capes have triangular attics behind the second-floor kneewalls and a tiny third-floor attic that is too cramped to stand up in. If you squeeze behind the kneewall in a Cape, you never know what you’ll see. You might see a space with no insulation at all — or perhaps just some thin insulation between the kneewall studs. You might see a space with insulation on the floor, but not along the roof slope.You might see a space with insulation everywhere — on the floor, between the studs of the kneewall, and following the roof slope — with all of the insulation in terrible shape.You will almost never see any attempts at air sealing work.
The basic problem with a Cape is that most examples have a poorly defined thermal boundary. Should the triangular attics behind the kneewalls be considered indoor space or outdoor space? From a building science perspective, the answer is clear — these attics should be inside the home’s thermal boundary. However, most builders don’t have the foggiest idea where the thermal boundary in a Cape belongs. That’s why builders and homeowners are always scratching their heads when they contemplate where to put the insulation in a Cape.
This is why you should call the professionals at Home Environment Solutions!
our service area
We serve the following areas
- Alliance
- Atwater
- Barnesville
- Belmont
- Beloit
- Bethesda
- Bolivar
- Bowerston
- Cadiz
- Cambridge
- Canton
- Carrollton
- Deerfield
- Dellroy
- Dennison
- Diamond
- Dover
- East Canton
- East Rochester
- East Sparta
- Flushing
- Gnadenhutten
- Hartville
- Homeworth
- Jewett
- Kimbolton
- Lore City
- Louisville
- Magnolia
- Malvern
- Mineral City
- Minerva
- New Philadelphia
- Newcomerstown
- North Benton
- North Canton
- Paris
- Piedmont
- Port Washington
- Quaker City
- Salesville
- Scio
- Sebring
- Sherrodsville
- Stone Creek
- Strasburg
- Tippecanoe
- Uhrichsville
- Freeport
- Waynesburg
